The balance between producing social media videos quickly, and producing them well
I speak to lots of business owners who have fantastic ideas for social media videos, but they find that producing them is too difficult or time consuming, so they never get around to doing it.
Alternatively, they know they can produce them quickly, but are worried about the quality not being up to scratch, and giving the business a poor perception online.
For me, there’s a balance to be had between these two issues. So this is VideoHQ’s method of filming quick and dirty content – which still looks good; is effective online; and slots in well with your overall marketing strategy.
Step One: scripting your social media videos
The last thing you want is to get to the end of the video and realised you missed a key point and you’ve got to record it again. Plus, scripting helps you to stay in the brand identity and stay and on message.
One to three minutes is a good guideline for duration – long enough to be useful content, but not so long people won’t bother to watch it.
And make sure you read your script loud before recording – our written voice is different to the spoken voice, so there may be little edits you want to make so that it sounds more natural.
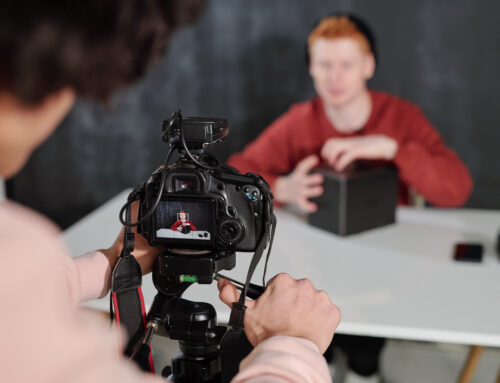
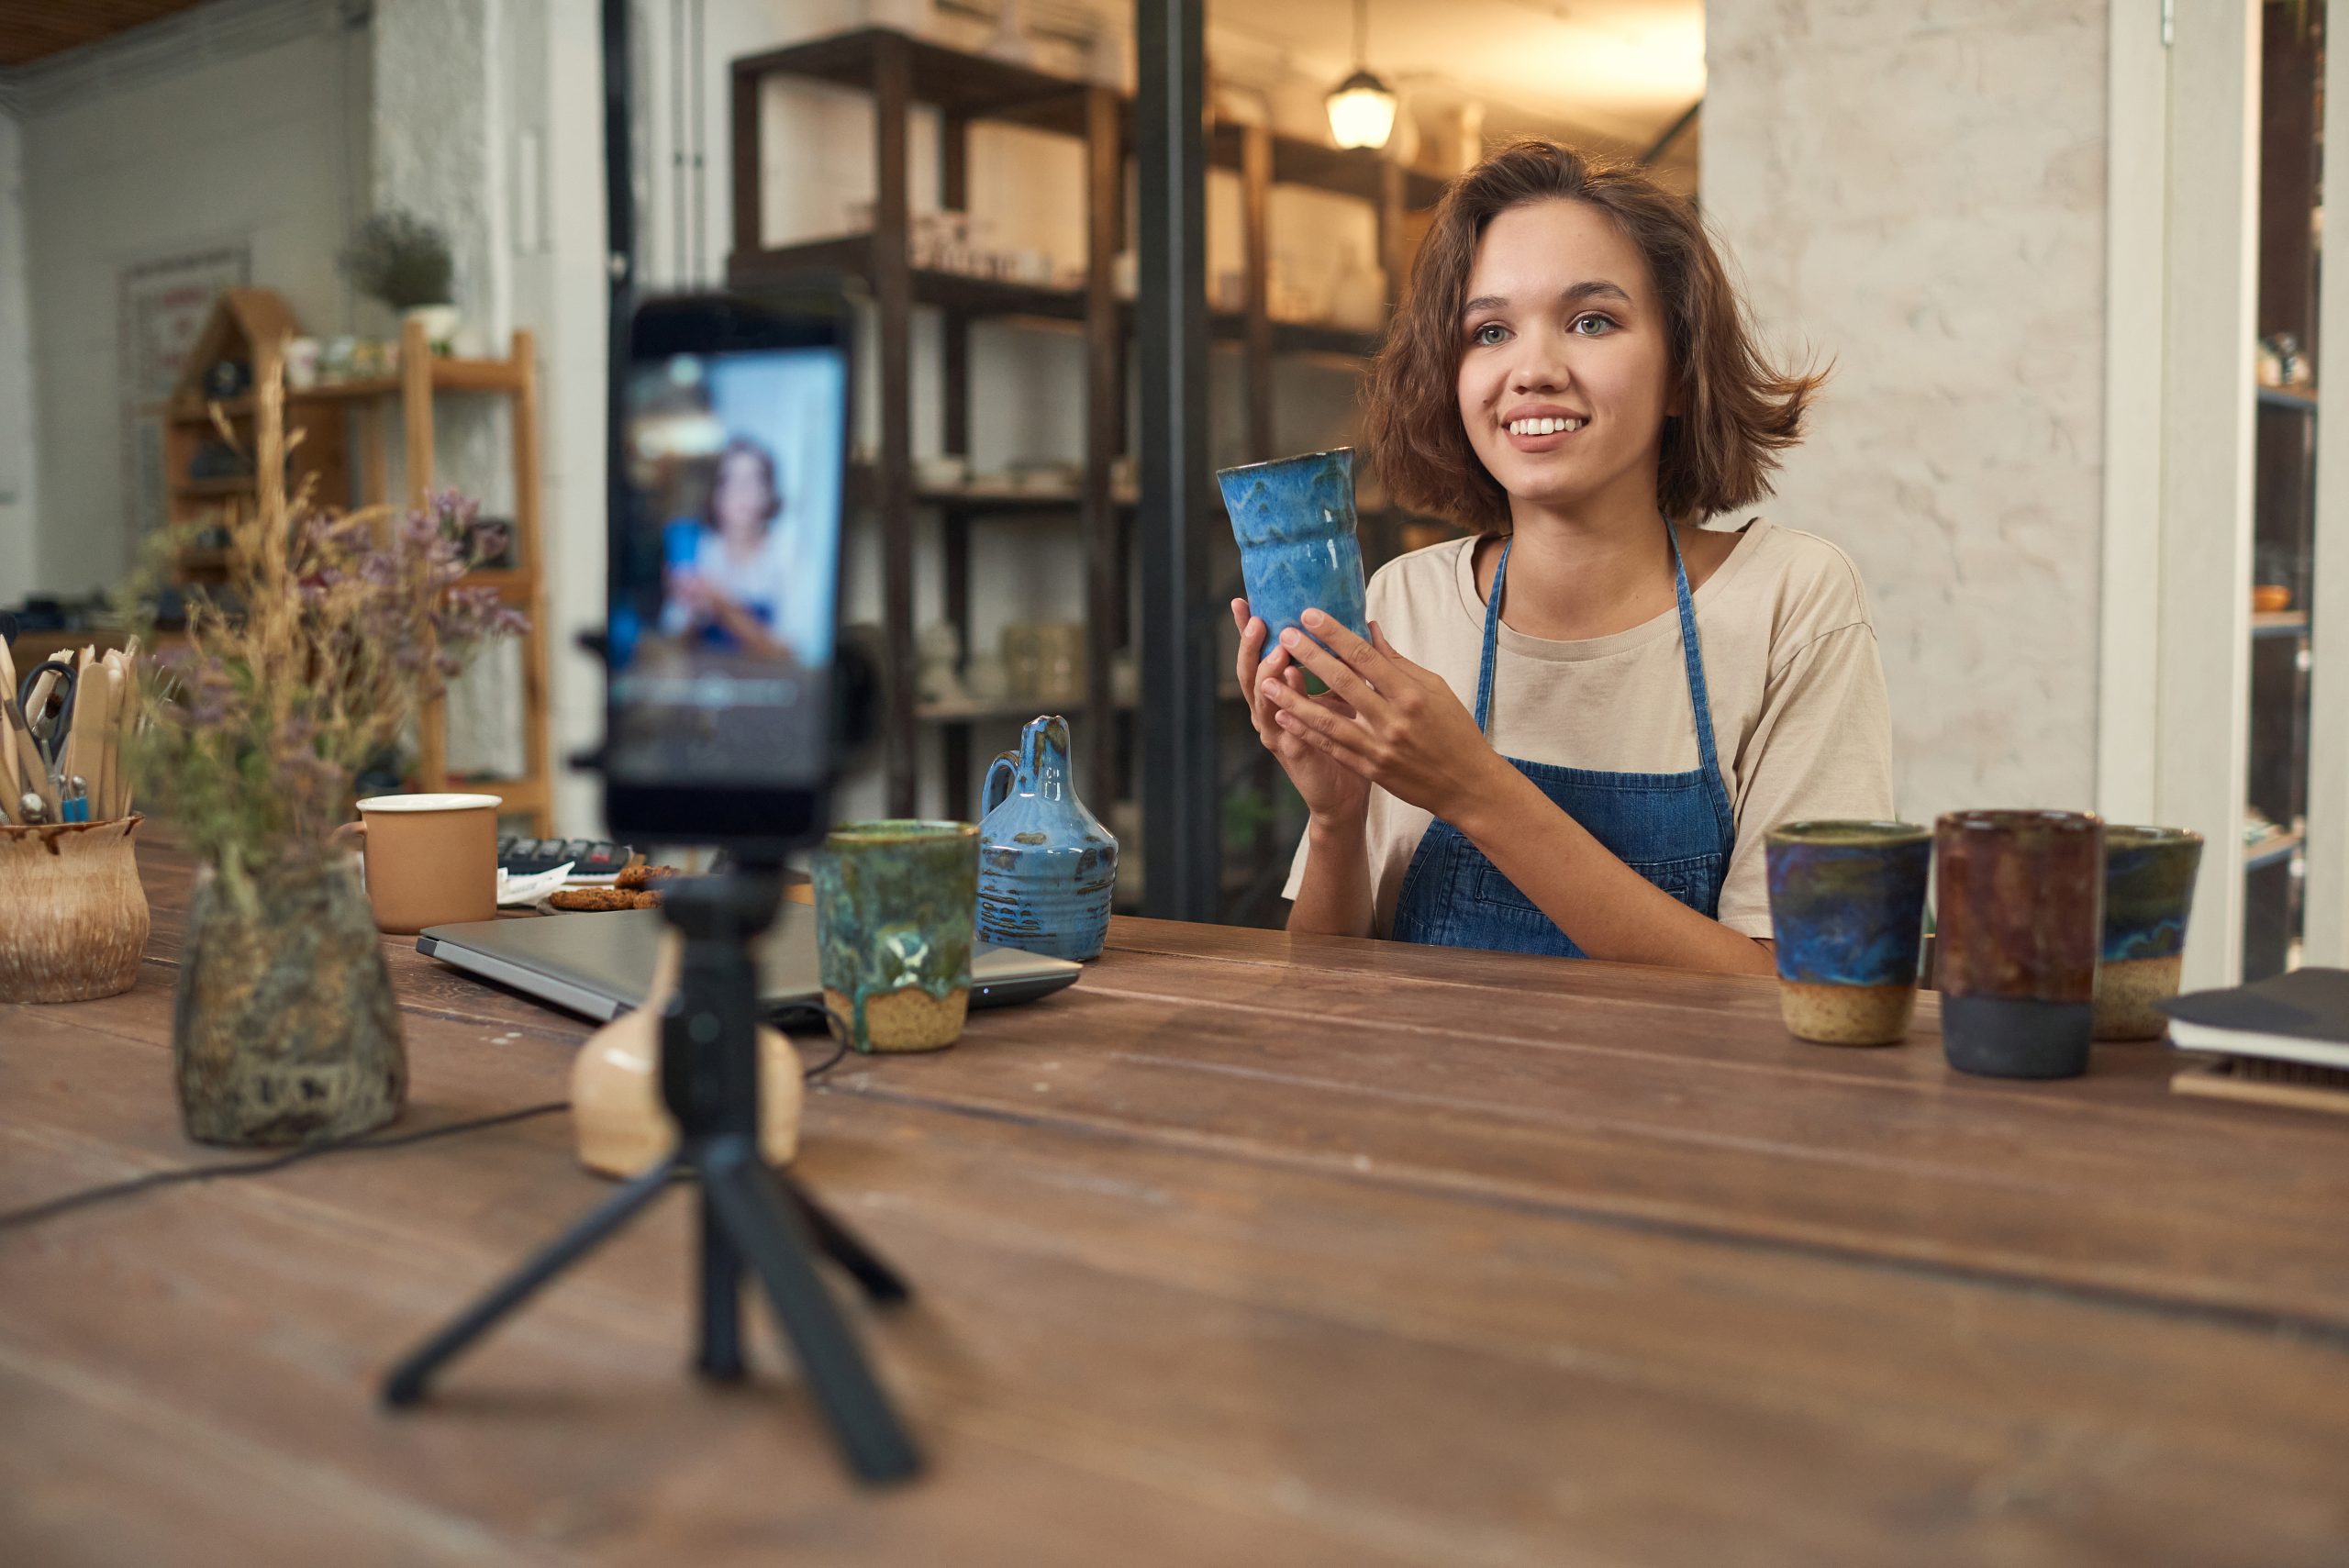
Step Two: filming kit
The last thing you want is shaky footage – this is very distracting and looks unprofessional. So it’s good to invest in a little phone tripod.
With the tripod, make sure you position yourself in the centre of the picture, and have the camera at eye level.
If you can, film facing a window with loads of natural light coming through it, because phone cameras work best with daylight. But if this isn’t possible, you could get a LED ring video light.
Teleprompter apps are really nice. They film using the front camera, and you import your script into them, set the scroll speed, and read it as it records. This means less takes are needed compared to memorising your script.
And if you don’t want to do too much editing, try and make sure you film it in one take.
Step Three: editing your social media videos
Here are some suggestions for editing software:
- Apple users: iMovie comes with Apple computers, small cost for iMovie app for phone and iPad
- Windows users: Videopad and Filmora are good
My ‘quick and dirty’ method means all I’m really doing is topping and tailing the video, so taking off the bit before and after you start talking. I might add a fade in and fade add transition as well if I’m feeling fancy.
Step Four: subtitling
Most people use social media with the sound turned off, so often will just scroll past videos which don’t have subtitles.
Descript does most of the work for you – it analyses the audio and transcribes it.
A little warning though, it doesn’t do well if you have a really strong accent! I’ve learned that the hard way. So if that’s the case you might need to spend a bit more time going through and correcting what it thinks you said.
Export that, and when you upload to social media you can include the captions (.srt) file along with it.
Step Five: making a branded thumbnail
The autogenerated ones are absolutely incredible for selecting the most unflattering freeze frame of you from the video.
Plus, if you make it yourself, you can make sure it’s fully branded, and includes the video title or maybe a call to action.
I make mine on Canva, as it has a Youtube thumbnail template that you can edit, or make your own from scratch.
That’s my five steps to quick and easy social media production.
There’s kind of a sneaky ‘step six’ as well, which is how to effectively upload your videos to social media, but that’s a big topic and a WHOLE other blog post.
No, literally. There’s another blog post just about how to upload your videos effectively…
And if you want something higher quality and professionally produced, then we can book in a meeting to chat through your ideas.